have we met before?
login or create an account
login or create an account

An efficient tool does not always have to be expensive or difficult to make and/or use...
This simplistic project shows you how to make an universal wick holder. I call it «universal» because it will keep straight and centered the thinnest wick as well as a one inch thick core candle.
There's no need to be a structural engineer, you could complete this project with your eyes closed and one hand behind your back.
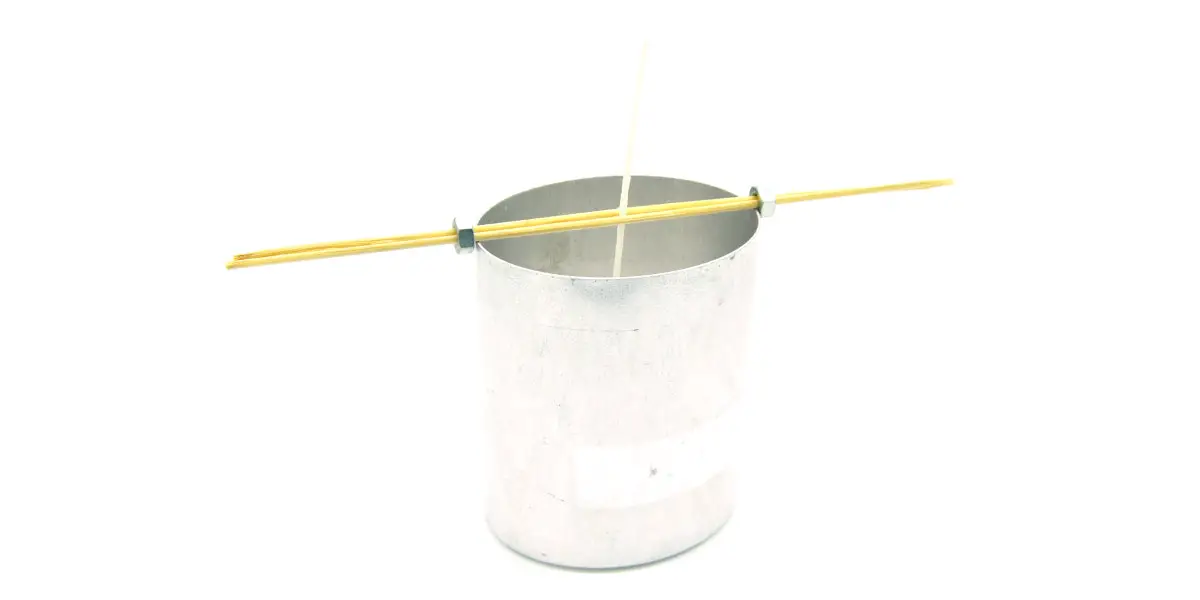
Hold the two skewers together and, on each side, thread one of the small nuts. That's all folks!
Depending on what you want to keep straight, a simple wick, a double wick or a core (taper) candle, slide the nuts closer or further away from each other along the skewers: the closer they are to each other, the harder the skewers will be held together and the higher the pressure on what is stuck between them.
The picture above shows how to hold a single wick in place.
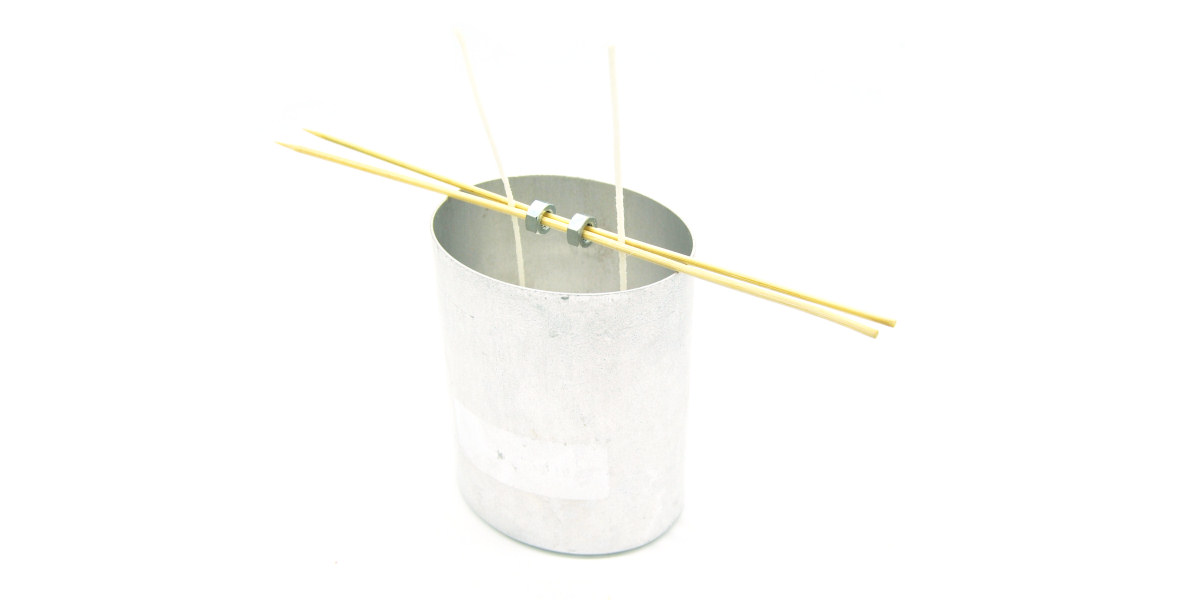
The configuration above is perfect for a dual wick candle. Slide both nuts towards the center of the skewers and catch a wick on each side.
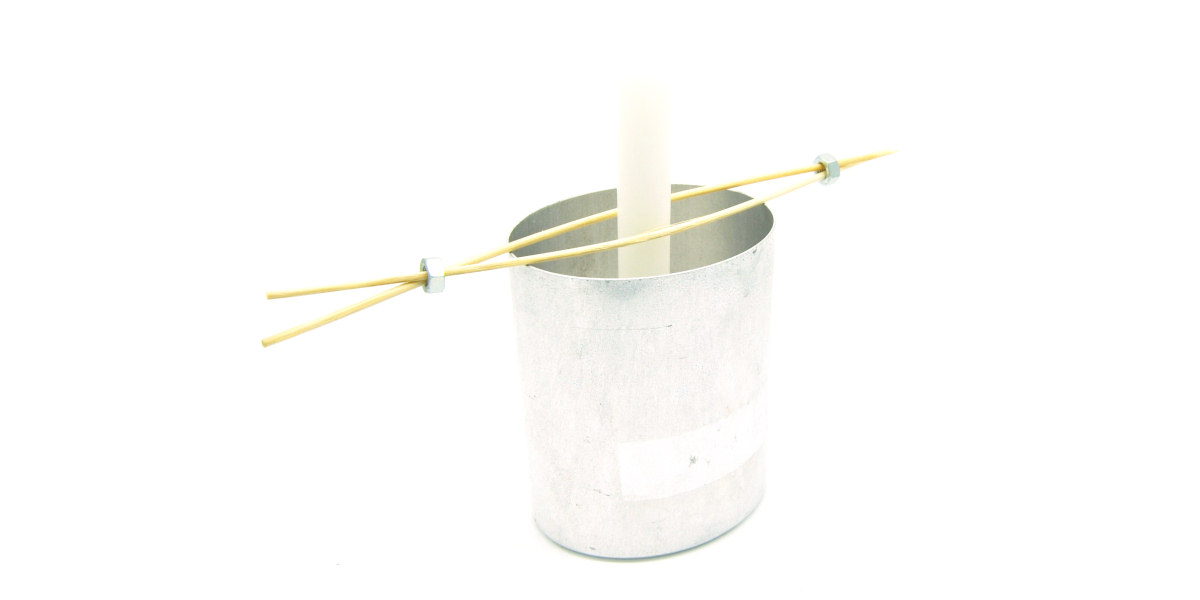
On the picture above, our little tool helps keep a core candle in place inside a mold (core candles are often used to make an ice candle). To accommodate the relatively large diameter of the taper candle, the nuts are moved further away from the center and the skewers now cross each other (instead of staying parallel).
That's it, you've just spent less than two minutes making a very inexpensive tool that will more than probably help you many, many times in the future...
If you don't have any nuts by the hand or they're not the right size, just use a couple rubber bands instead. It works just as good but adjusting them during the course of a project takes a little more time.
 Thanks a bunch!